The painting of the engine
There are only a couple of pictures so far, but I shall post more as I slowly put the engine back together.
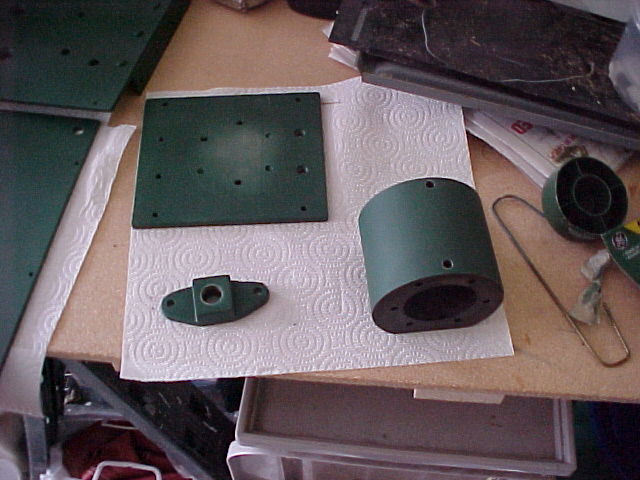
Here is the cylinder, packing gland, and the plate that supports both:
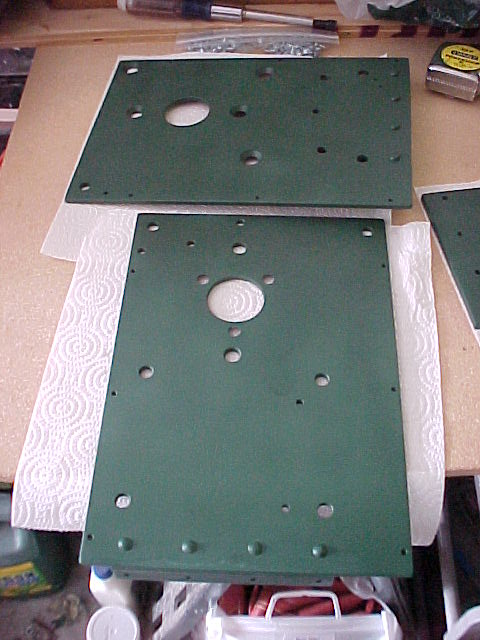
Here is the top and bottom plate of the engine:
Update: 7/31/05
One more pic for now, I have another batch that have to be prepared that shows the engine in it's various stages of putting it back together, which will be of much use to those who have been asking what/how I did the engine.
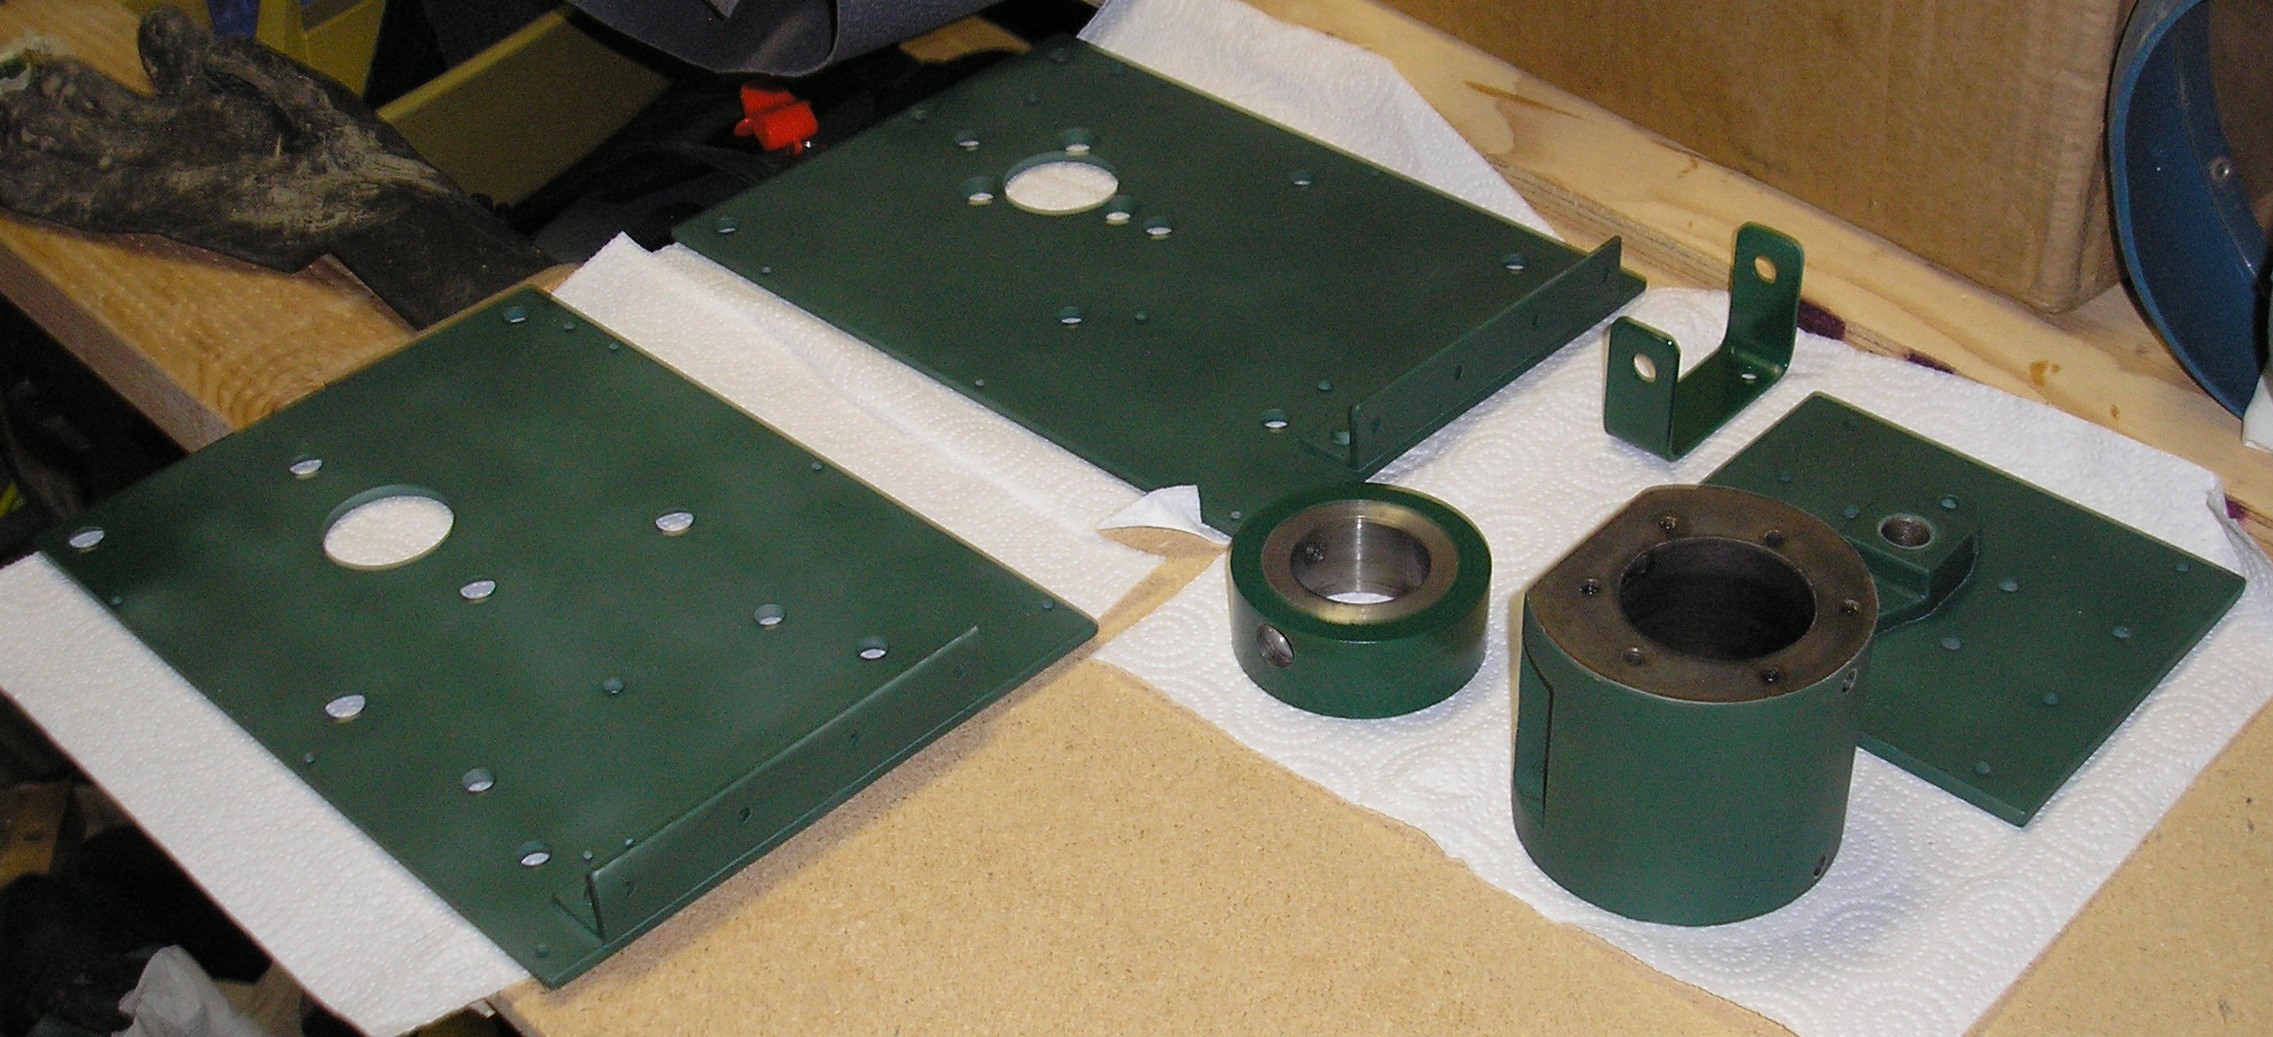
Here are the top, bottom, front plate (the bottom of the cylinder, packing gland, cylinder and the shifter holder ready for assembly:
Update: 8/1/05
Ok, took care of the new pics so here they are:
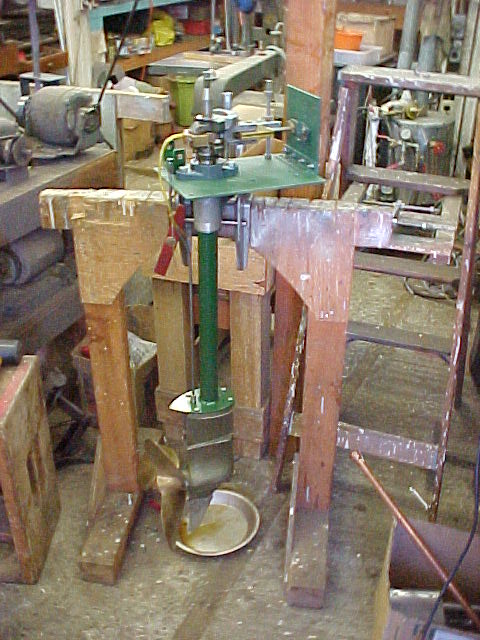
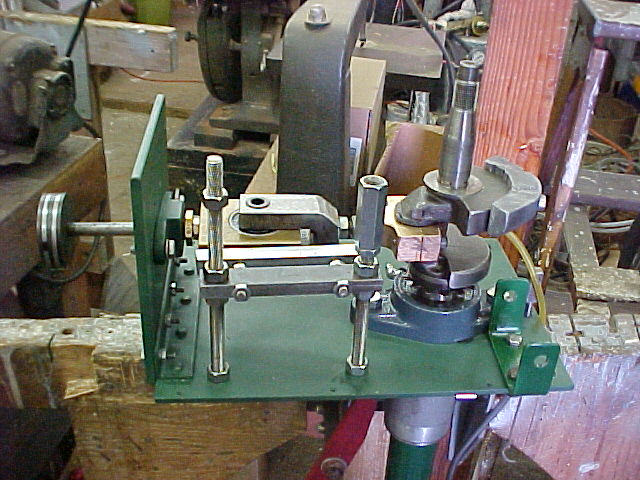
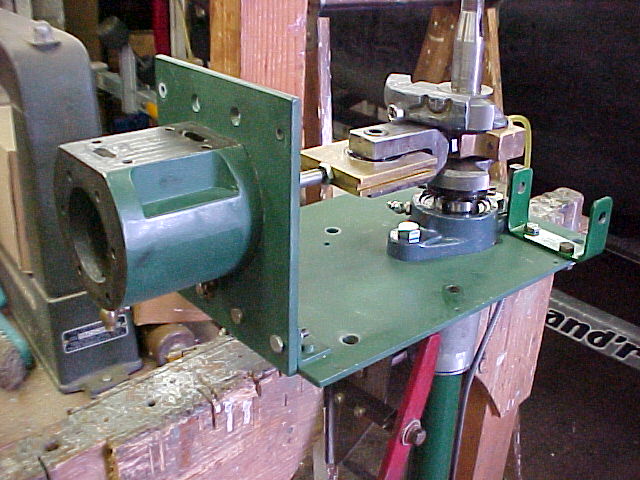
This is after i got the shaft, lower end, and top plate connected, also the crosshead and piston are installed:
Heres a better view of the crank, crosshead and piston, All i need to do is install the cylinder, other guide, and the top:
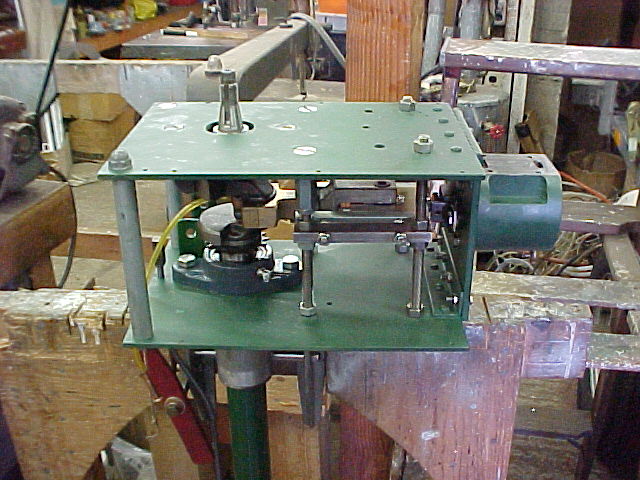
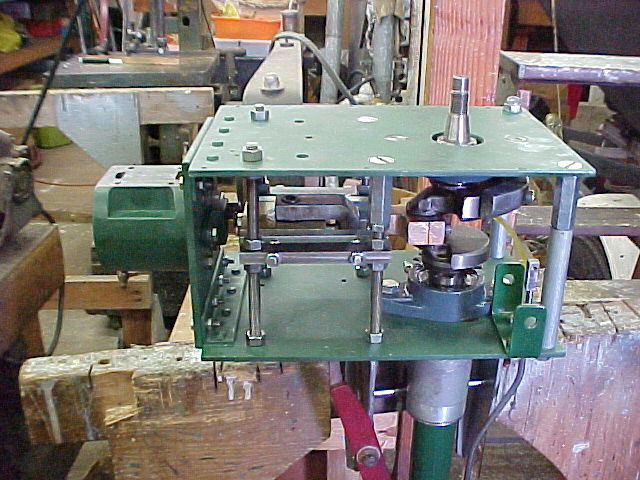
After much trouble I got the cylinder installed, as you see I removed the guide as to allow more room to work with and so i wouldn't crush my fingers if i had to move the crosshead:
After much hassle i got the guides in and the top on:
Here's the top on, still have to put the valve box and fly wheel on, but it's getting there:
Here the valve box, cylinder top, and valve rod are all connected:
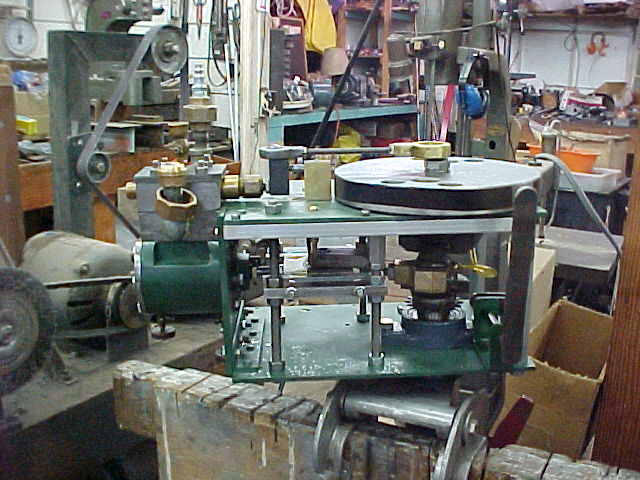
A better view of the top, notice the union nut with the air hose connector on it, I have another union nut sitting on my computer desk for the exhaust side to pipe the sound elsewhere (it's quite noisy with no muffler on it):
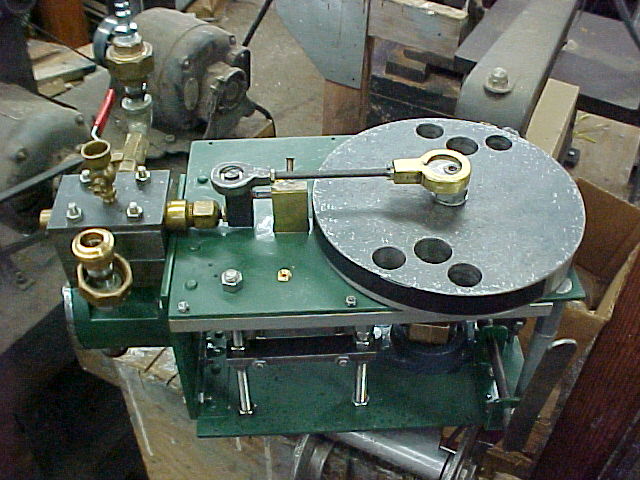
so there you have it, all that's left now is to finish the guide rails for the oil shields and the back aluminum shield.
Back to the Main page!
Last update on: