Click the picture to view one in a larger size.
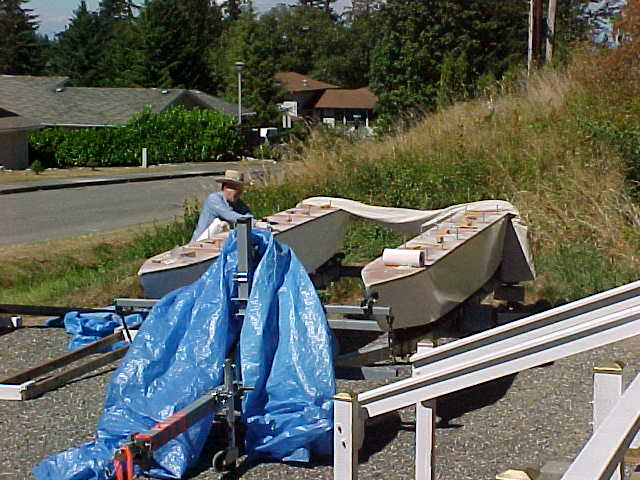
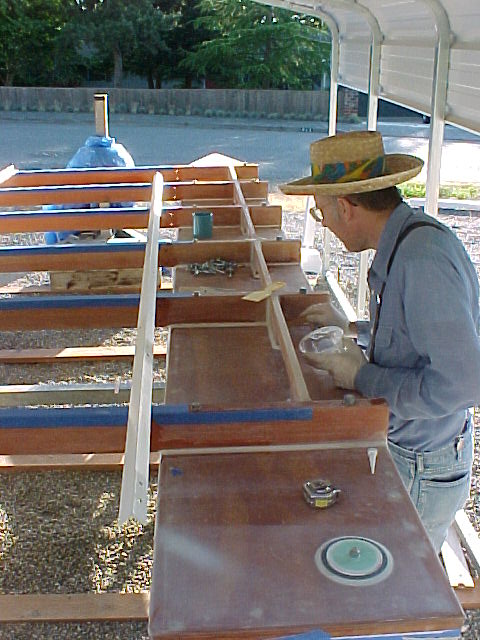
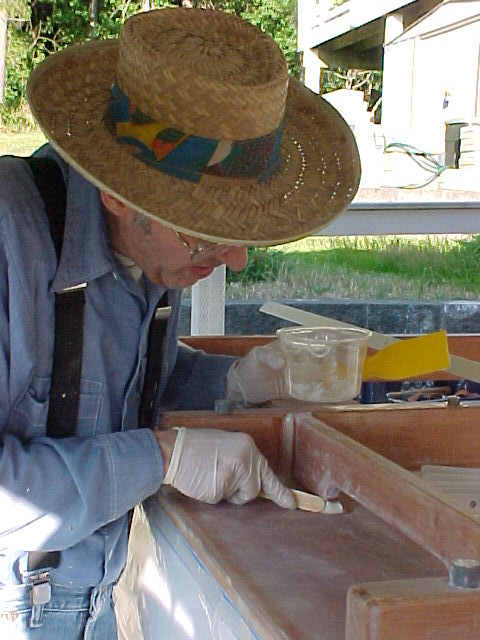
This is dad getting the hulls ready for the cross members.
Dad gives one more last check before we make the glue
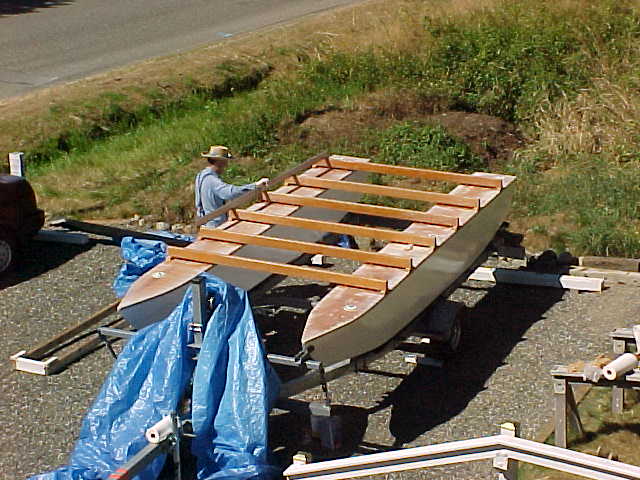
These are the spacers we used before putting the boards down 'flush' with the hull
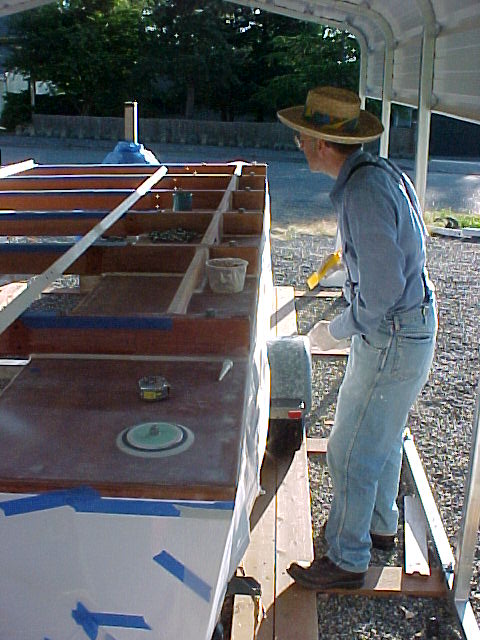
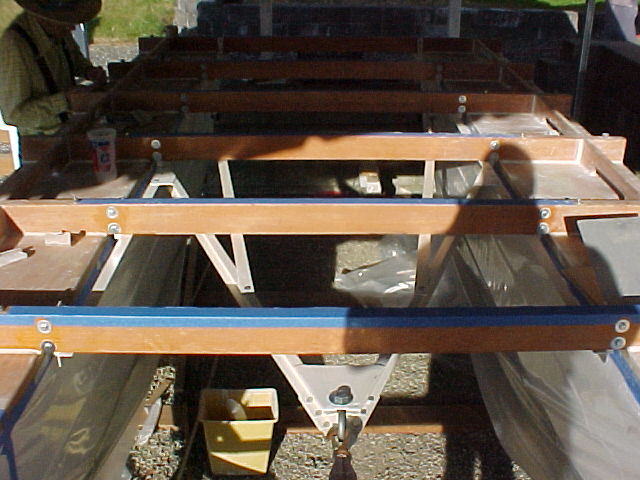
The cross members are ready for glue!

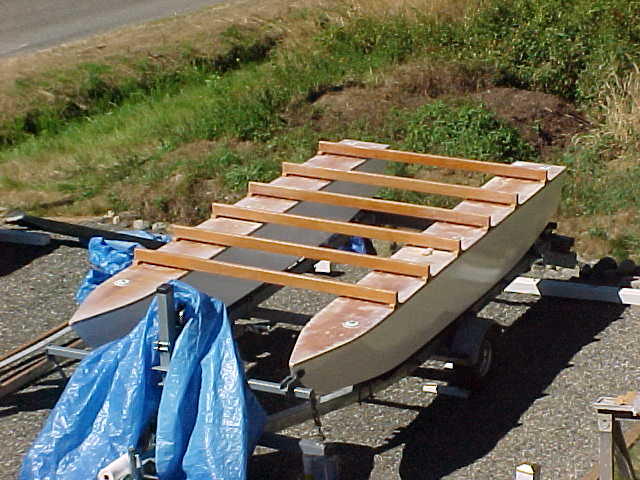
they are all glued!!! yaa!!!! next we need to put the pieces inbetween the cross members.
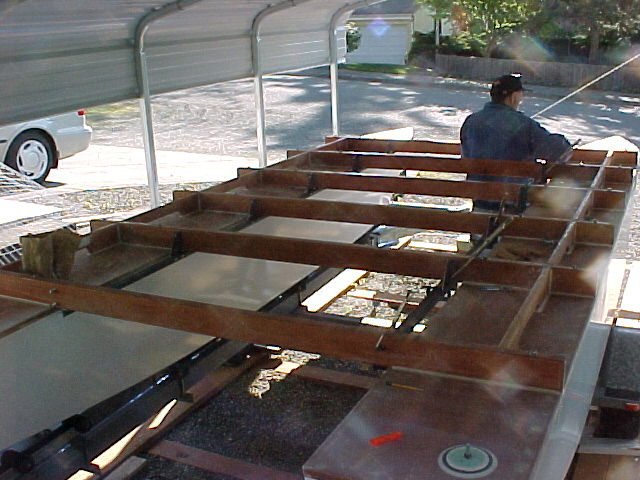
The pieces inbetween the cross members are glued, and now we are dealing with another problem: how to haul the boat onto the trailer without busting the front crossmember. The construction calls for two angle irons runing the entire length of the boat with 'fingers' grabing each crossmember, then a 'v' frame made out of channel grabs on about half way up and comes to a point about 2' infront of the deck
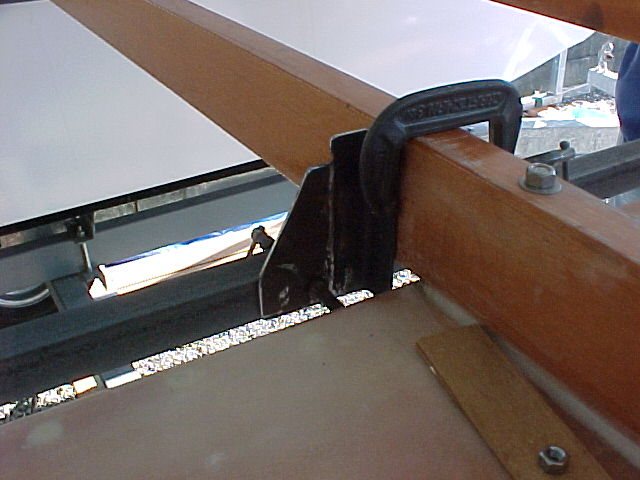
A close up of one of the 'fingers'
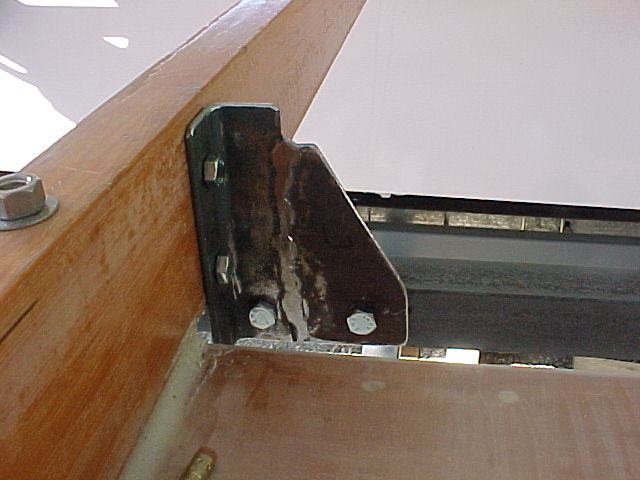
the drilled 'finger' ready for painting.
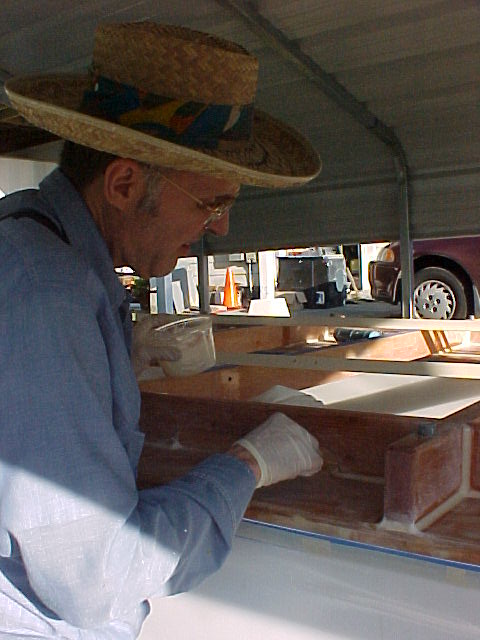
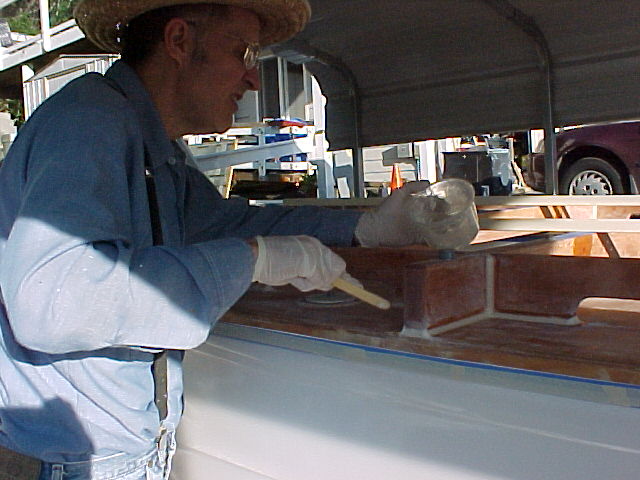
Dad applying some radius compound before we put the mettle on.
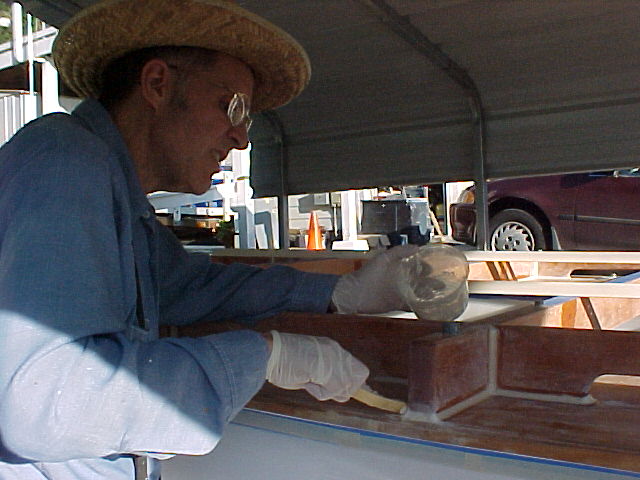
Dad checking his handy work
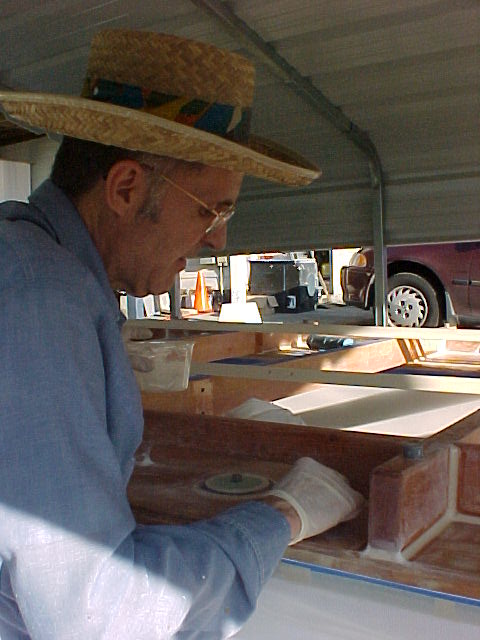
dad touching up a spot
Dad sweeping towards the outside
getting that pesky corner
getting the other pesky corner
going around the bottom of the arch.
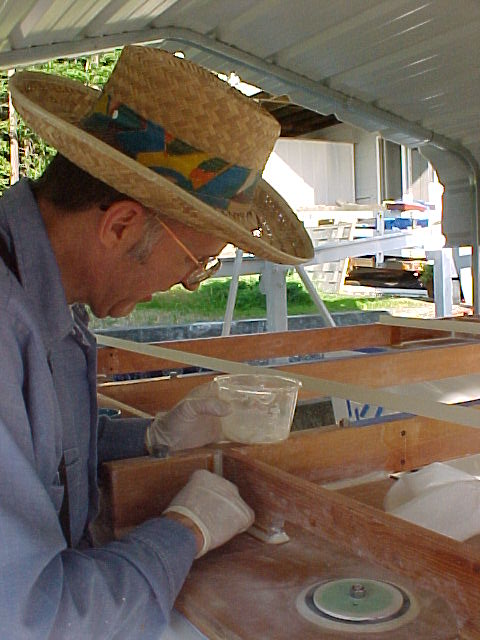
dad checking to make sure the fillet got filled
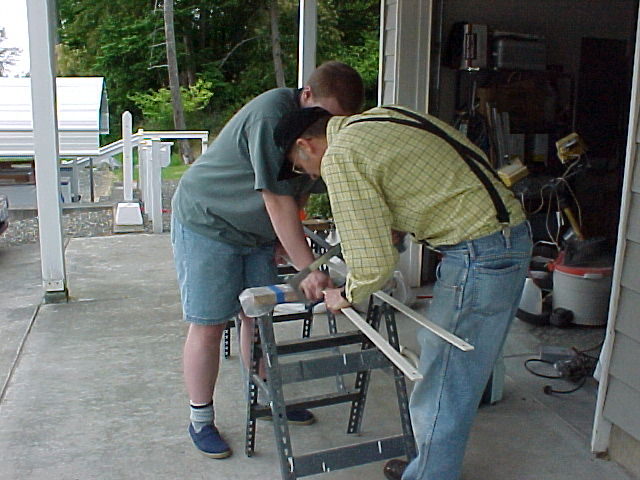
cutting the tension bars to put in the turnbuckles
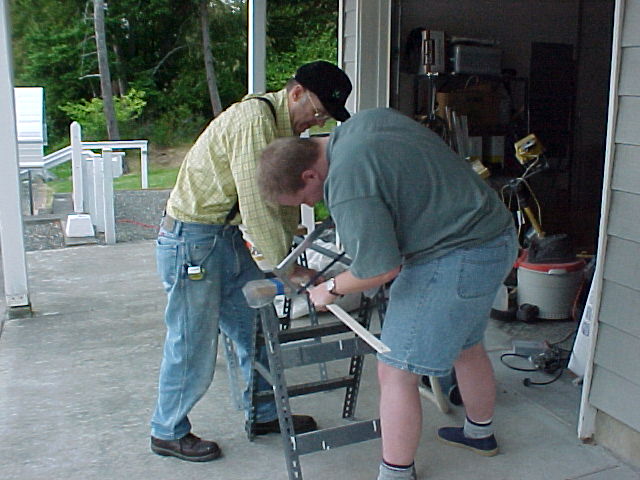
my turn to cut
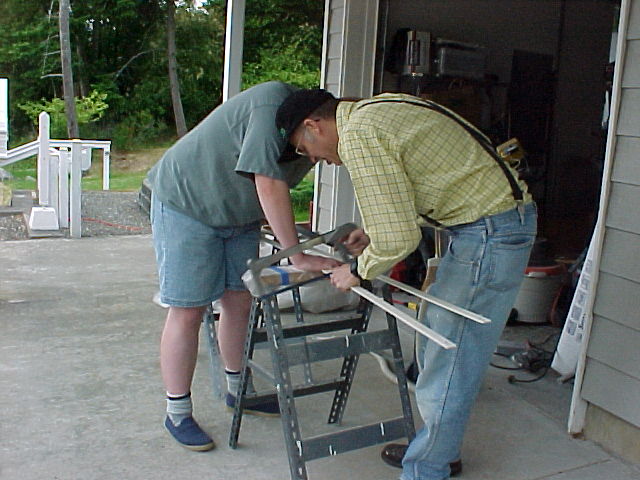
dad cutting some more...
everything in place, from the bow looking back
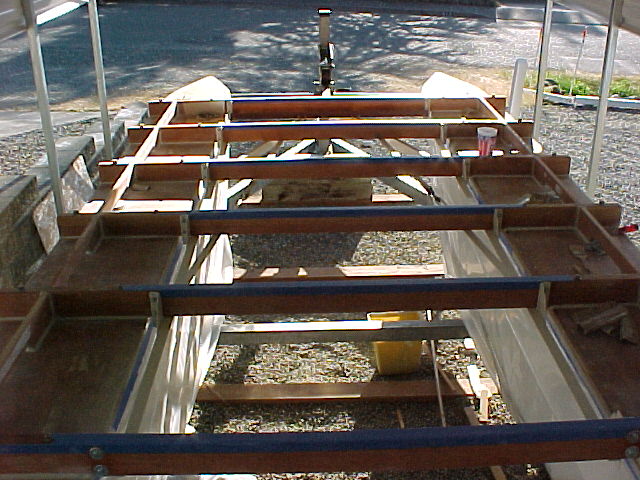
view from the stern
go back to the main page Last mod: